Thursday, January 22, 2015

Twitter Watercolour Card Class Rerun

Hi again!!! Three posts in as many days - something's up with that LOL.

Our Twitter group were discussing watercolour techniques in a stream recently and we decided we wanted to do the class TOGETHER again.

So those that did the class before are in again PLUS A FEW MORE! 

Starting this Thursday 22 January 2015, we will make a card using any one of the techniques shown in that day's class from the Online Card Classes web site which is hosted by Kristina Werner and Jennifer McGuire.

I should explain first. Online Card Classes run various card classes throughout the year such as Watercolour, Clean & Simple, Copic Markers, Stretch Your Stamps, etc. The cost is minimal and you get at least three different videos with pdf tutorials each day, the Watercolor class went for 11 days! That's over 30 videos with written tutorials! They also have guest instructors which allows for a wide variety of styles too! The beauty of these classes is that if you buy a class, the videos & pdfs are available to you forever, or as long as they are on the web. You can go back any time to view the videos, download the pdfs, etc.

Anyway, when this class started a few of us decided we would tweet a pic of our completed card using that day's techniques from the class. We want to do it again so that we can have some fun with it again while making cards and reinforcing what we learned. So here's my take on Day 1 of the Watercolor Class :)


Thanks for stopping by!

Monday, January 19, 2015

Card Series - Birthday #19

Hi everyone! Back again with week 2 of my 52 week card series for 2015.

This time I have another aged birthday card, this time it's a more simple card. This card was inspired by a card I found on Pinterest. The lady that makes these also sells them in her Etsy store at DaizyBlueDesigns. You can buy them from here. Well here goes!

Card Base: White cardstock cut to 8 1/4" x 5 1/4" scored in half at 4 1/8" (side folding card), Bottom right corner punched with We R Memory Keepers corner chomper

Top Layer: Black cardstock cut to 5" x 3 7/8", bottom right corner punched with We R Memory Keepers corner chomper

Before cutting the top layer I created a document in Microsoft Word, inserted a text box the same size as the top layer cardstock and typed in the following lines:

"is only 15 in Scrabble"

I then printed the document onto cardstock, cut it down to size then stamped the "SIXTY" scrabble tiles using Tuxedo Black Memento ink.

Once the stamped word was dry I took an E00 Copic marker and coloured in the scrabble tiles.

Using the Learning Curve Cricut cartridge I cut the 60 from black cardstock using the Shadow option at 1 3/4". I adhered these numbers at the top of the top layer using Scotch Quick Dry adhesive. I then took my clear Wink of Stella pen and covered the 60 making it all shiny and sparkly!

That's it! Job done! Just adhere the top layer to the card base.

Oh, forgot about the inside sentiment. Because it's a black card base I cut another piece of white cardstock to 5" x 3 7/8", adhered it to the inside of the card and stamped the sentiment from the KaiserCraft stamp set "Today". Again, don't forget to chomp the bottom right corner of each piece!

So here's the finished product!


OK, so it is VERY plain! So I decided to go surfing for a scrabble board background online. Found one and softened it so it was barely noticeable, printed it out onto white cardstock, stamped the scrabble tiles, attached the 60 and put it all together and here is the result of that one (NOTE: you may need to enlarge it to see the actual board in the background LOL).


OK, two down, 50 to go! Here's the link to this week's card on YouTube:

Card Series - Birthday #19


Card Series - Birthday #18

This is week 1 of my 52 week challenge of making a card and uploading it to YouTube each week of 2015! So here we go!

I decided I need a lot more aged birthday cards to add to my market stall so I searched my craft room for my Cricut, found it and switched it on! I needed to cut some numbers for the aged birthday card - multiple of them as I will glue them together to give dimension.

I started by cutting down a piece of white cardstock to 5" x 3 7/8" and using the middle sized die in the SimonSaysStamp "Balloons" die set, positioned the die in the centre of the cardstock and ran it through my big shot.

Balloon die

Next I took a piece of cardstock that was at least 3 1/2" tall by 3 1/2" wide and took the following distress inks and sponged them on in the form of a rainbow:

Distress Inks: barn door, wild honey, squeezed lemonade, shabby shutters, broken china, chipped sapphire

distress inks coloured across the paper in rainbow format
I then did the same thing, sponging on the above inks on a piece of white cardstock measuring at least 2 1/4" x 6". Placed this piece onto my Cricut mat, using the Learning Curve cartridge I cut the 70 using SHADOW feature and size at 1 3/4".

Ensure orientation correct before cutting (red at top)

To dimensionalise the numbers I cut 3 of each of the 7 and 0 using white cardstock and adhered them together with the coloured cardstock on top.

I then heat embossed the numbers using Versamark embossing ink and Ranger Holographic Embossing Powder which gave it a shiny sparkly finish.

Shiny & Sparkly

Next I stamped the "happy birthday" sentiment using Onyx Black Versafine ink at the top of the layer. This stamp was from the Hero Arts "Year Round Sentiment" stamp set.

I then stamped the "celebrate" (KaiserCraft "Save the Date") again using Onyx Black Versafine ink, then the "Let's" was stamped with the same ink. I do not have the packaging for this stamp but I'm sure it's from See Dee's. Both of these stamps are poor quality!

I then placed a strip of double-sided tape on the back of this top layer to hold the Baker's Twine in place while I wrapped it around the top layer of the card. I then tied a bow and adhered it down using Ranger Multi Matte Medium.

I hand wrote the "th" next to the zero using a Faber Castell Pitt Artist Pen sized XS in black.

I rounded all bottom edges using my We R Memory Keepers Corner Chomper with the 1/2" side.

Next I applied foam tape to the back of the top layer and adhered it to the middle layer (yellow cardstock cut to 4" x 5 1/8") then adhered it to the front of a card base cut at 4 1/8" x 10 1/2" scored in half at 5 1/4" (this is a top folding card).

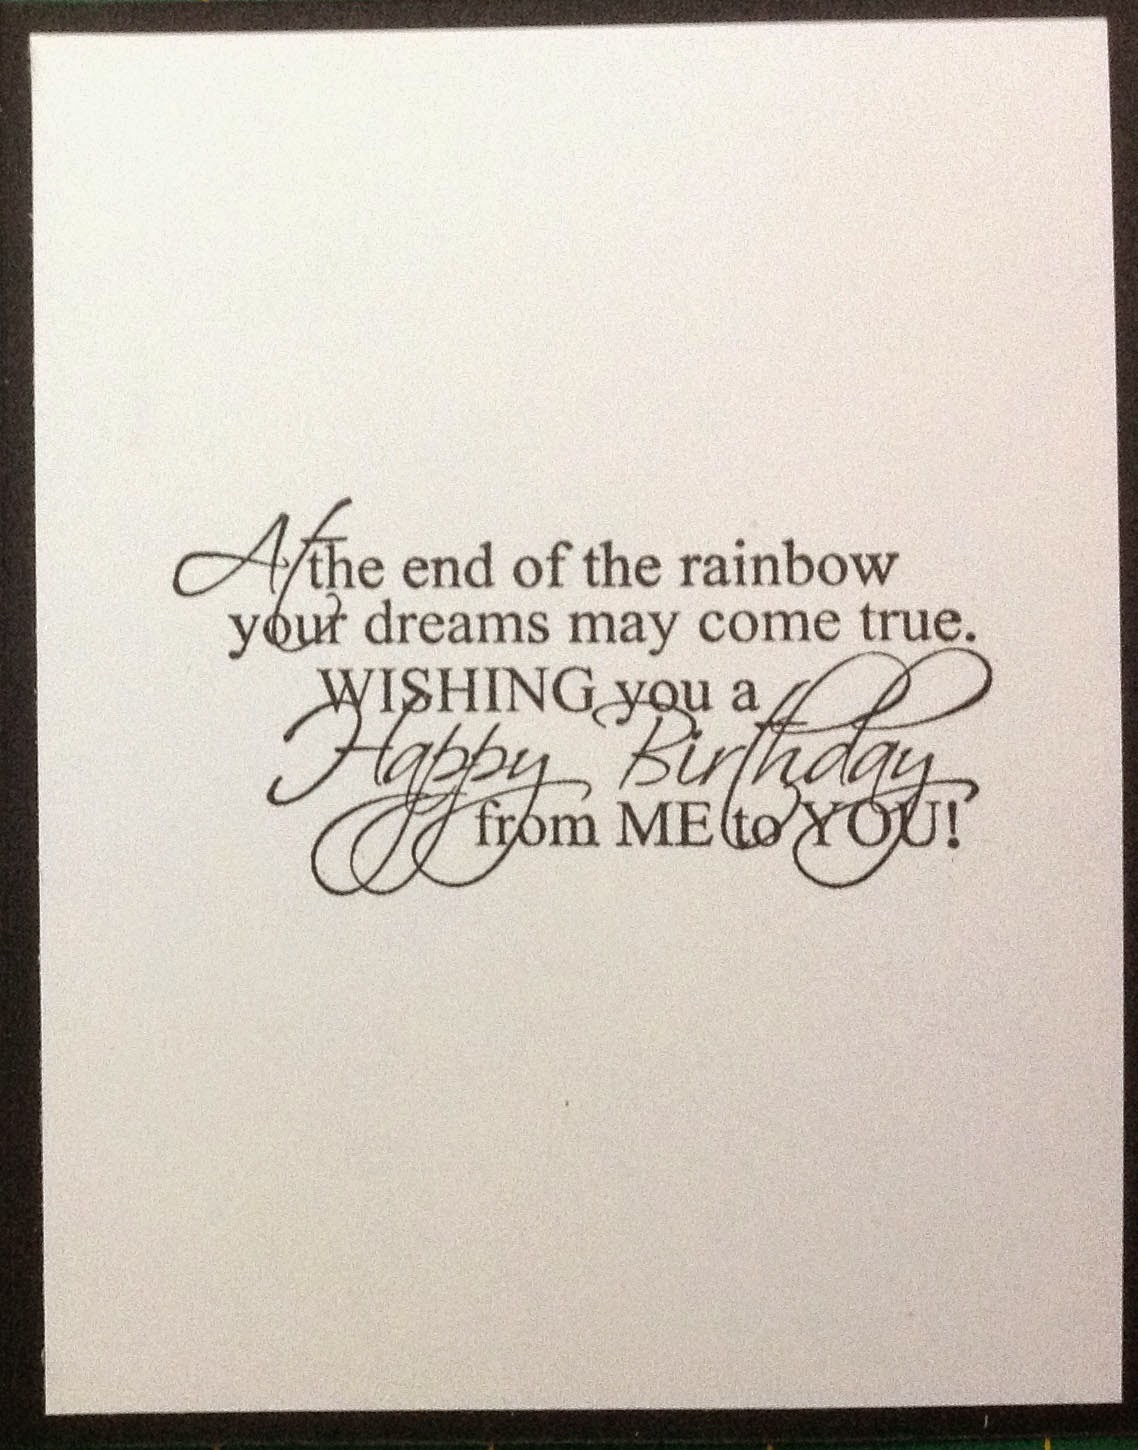
The inside sentiment "Today is your day!" from KaiserCraft's "Today" stamp set was stamped using Onyx Black Versafine ink.

And here is how it turned out!


And here is another variation of this type of card that I made also:


Oh here's the link to the YouTube video on the making of this card.

Card Series - Birthday #18

Thanks for stopping by!

Happy New Year!

Happy New Year everyone!

It's been a while since I last blogged, the silly season sure does take its toll on me! Anyway I'm back!

A while back my middle daughter, Shasz, made a deal with me that she would stop drinking if I quit smoking. That was back in June 2014. Shasz quit drinking for 4 months but I was to start the process of quitting smoking in December 2014. So I stuck to my end of the bargain and began the Champix program on 15 December 2014. You can smoke up to the first 2 weeks of taking the Champix but I went over that. It was probably on day 18 that I had almost a full packet of cigarettes so I decided that this was not going to happen if I didn't stop smoking. So I began to smoke the remaining cigarettes almost chain smoking until I couldn't smoke any more! I think there were about 6 cigarettes remaining. I scrunched them up and threw them in the bin!

Well I started off so good! I think I went 10 or 11 days without smoking a single cigarette! It was not easy, don't let anyone ever tell you it is easy. This would have to be the hardest thing I have ever done in my life! I started smoking when I was 15 and I will be 55 this year, so almost 40 years of smoking, most of which I smoked the highest strength (16mg).

Then I don't know what prompted me to do it but I lit up and had a few cigarettes. I continued to have anywhere from one to three cigarettes a day until yesterday. I told myself I was weak and pathetic if I couldn't do this. I talk myself out of having a cigarette on a minute by minute basis at the moment. It's constantly in my mind! I need to keep busy and put my mind to better use than thinking about smoking all the time. I can do this, I will do this!

So since I decided to quit smoking before the New Year I made a resolution I think I can keep LOL. I have decided I am going to try to blog more and I will need to as I also promised myself to upload a video to YouTube each week for the entire year - yes that's correct, 52 videos - at least!

Stay tuned as I update my progress along the way.

Smiles
Jen