Friday, September 7, 2012

Box of Drawers for my Charms

Well there has been a rush to buy the Sizzix Candy Box die which cuts the box frame and box all at once. Well, me being the boxmaker that I am - I couldn't justify buying the die so I created my own boxes, joined them together and created a set of drawers for my charms.

Each box has a charm hanging on the front which displays the individual charms that are inside that drawer.

I did stream making the boxes and gluing them together. You can check the recording out here.

I have also made up some basic instructions for the chest of drawers and you can view and print them from here.


The following is a pic of the drawers all put together, ready for the back to be attached. As there was no real solid piece to adhere the back section, I placed half inch strips of paper on each divider (attaching them using wet glue), then placed scor-tape on outer side and then attached the back section.


Tuesday, August 28, 2012

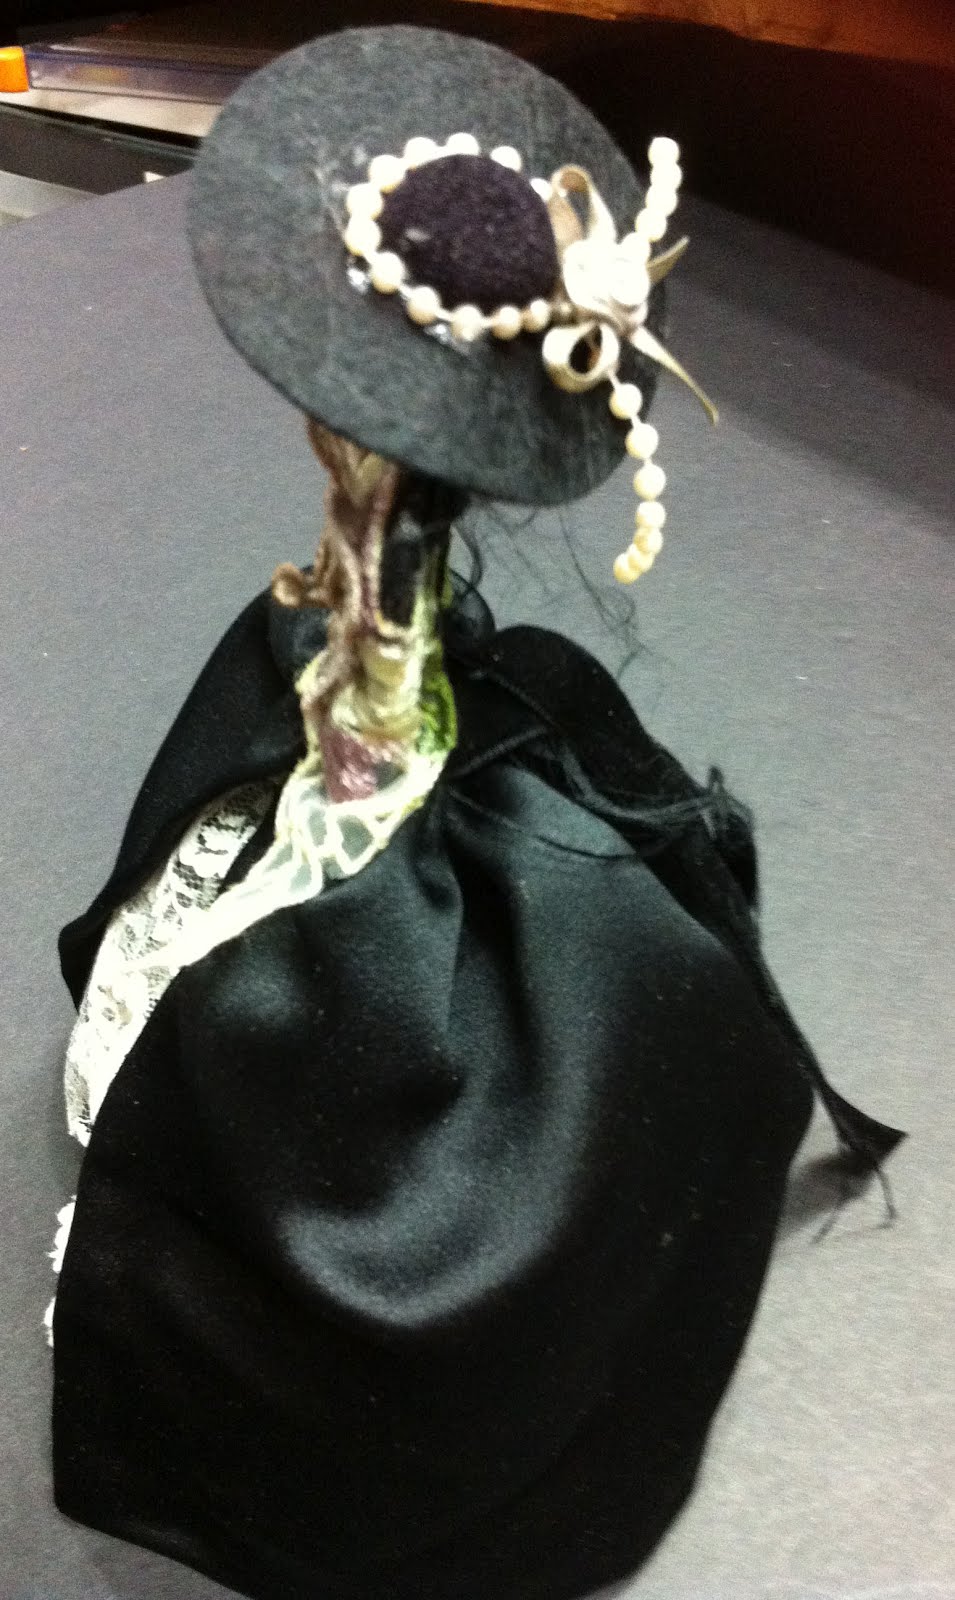
3D Dress Form

Hi everyone. It's been a while since I posted anything here, sorry. It's not that I haven't been crafting, just lazy and not posted any of my creations LOL. I do have a few to upload & blog about but those can wait a bit as I've just spent the afternoon with some great online craft friends on Ustream where we made this 3D dress form doll.

We used the Tim Holtz Sewing die and cut two dress forms, cut them both in half so that we could mirror image the die (the left & right sides are not uniform and make the doll look a bit funny - to Rose anyway :)).

We then stuck the two sides together and painted the entire dress form with black gesso, placed a Crafters Workshop stencil over the die and added some black texture paste to create some dimension. We then heat set it, painted it with the black gesso again, then added clear UTEE and heat set it so it bubbled. Love that effect!

We then took some satin fabric, glued up the hem and seams with scor-tape, added some lace in the front (where the sides met but positioned it in a v-shape). All adhered with scor-tape.

Then wrapped some 3" black lace for the bodice, gathered the wasteline of the skirt using needle and thread, hot glued a black velvet ribbon around the waste to hide the gathering (and ugly stitching) and adhered it all using the hot glue gun.

Next we cut out a flower & leaves section of some ribbon and attached it to the upper section of the body (used it as a blouse).

We then made the hat out of - wait for it - a piece of black felt AND THE FOAM PIECE OF A FINGER DAUBER! Coloured the foam piece in black alcohol ink, squeezed dry, adhered it to the centre of the foam circle piece, cut a slit in the centre of the felt circle for the head to slot into. Placed some string beads around the head piece of the hat, sprayed the white ribbon bow with glimmer mist in red, green and purple and adhered this where the beads crossed over on the hat.

We had a bit of fun making this this afternoon - unfortunately I did not record the stream, sorry.


Sunday, August 5, 2012

4x4 Storage Box for Vicki

In March 2009 I hosted a 4x4 mini page swap. We had 20 participants and we each had to make 20 of the same 4x4 mini page. We had 3 months in which we had to make and post the pages, individually to each participant.
It wasn't until earlier this year (I think) that I made a storage unit for the pages (they wouldn't all fit into a mini album). Vicki (cajunstmpr) liked the look of my storage unit so I mentioned that if Vicki at least attempted to make the storage unit, I would make one for her.
Well, Vicki is still trying to make her storage unit, so I decided it was time I made one for her, and here it is! I did stream the making of the unit but not embellishing it. You can catch my ustream part 1 here.


Saturday, July 28, 2012

Kathy Orta's Secretary

I've been meaning to make this secretary project of Kathy Orta's for so long but I started & finished it today and I love it!

I used K&Co's Que Sera Sera paper line, Graffix black medium weight chipboard and black cardstock.

I also streamed making it (in 4 parts) and you can check out the first part here.


Monday, July 2, 2012

Authentique Miracle Girl Collection Mini Album

I recently bought a collection pack from our local scrapbook store, Shop and Crop and thought I would make a mini album out of it and this is what I came up with:


The inside pages were loosely based on one of Laura Denison's mini albums and also using Kathy Orta's Hidden Hinge binding system.


KaiserCraft Fairy Jewellery Drawers for Amelia

I've had this set of drawers sitting in my UFO (unfinished objects) stash for quite some time and finally decided to get it out and paint and decorate it for my granddaughter Amelia's 2nd birthday.

This "princess castle" as I call it came in 7 pieces and I gessoed all of the pieces first.
I then used some acrylic paints in a light pink first, followed by a layer of a deeper pink. I then used some Lumiere Halo Violet Gold and just swept lightly with a dry brush all over the pieces.

For the middle tower peak I punched a piece of cardstock using the Fiskars Scallop Sentiment edge punch and then masked that with a straight edge piece of cardstock and daubed on some Adirondak paint daubers in Pearl to give the scalloped tile look.

I then used a flourish stencil from Pebbles Accents pack and using the Lumiere Halo Violet Gold stencilled the flourishes over a few of the pieces.

Just under the tower peaks I wrapped some soft green ribbon and stuck on some half-back pearls.

I lined the drawers with designer paper and added some stickers and embellishments and voila!

I'm sure Amelia won't appreciate it just yet but I think it will last a while for her to place her special bits & pieces.


Thursday, June 21, 2012

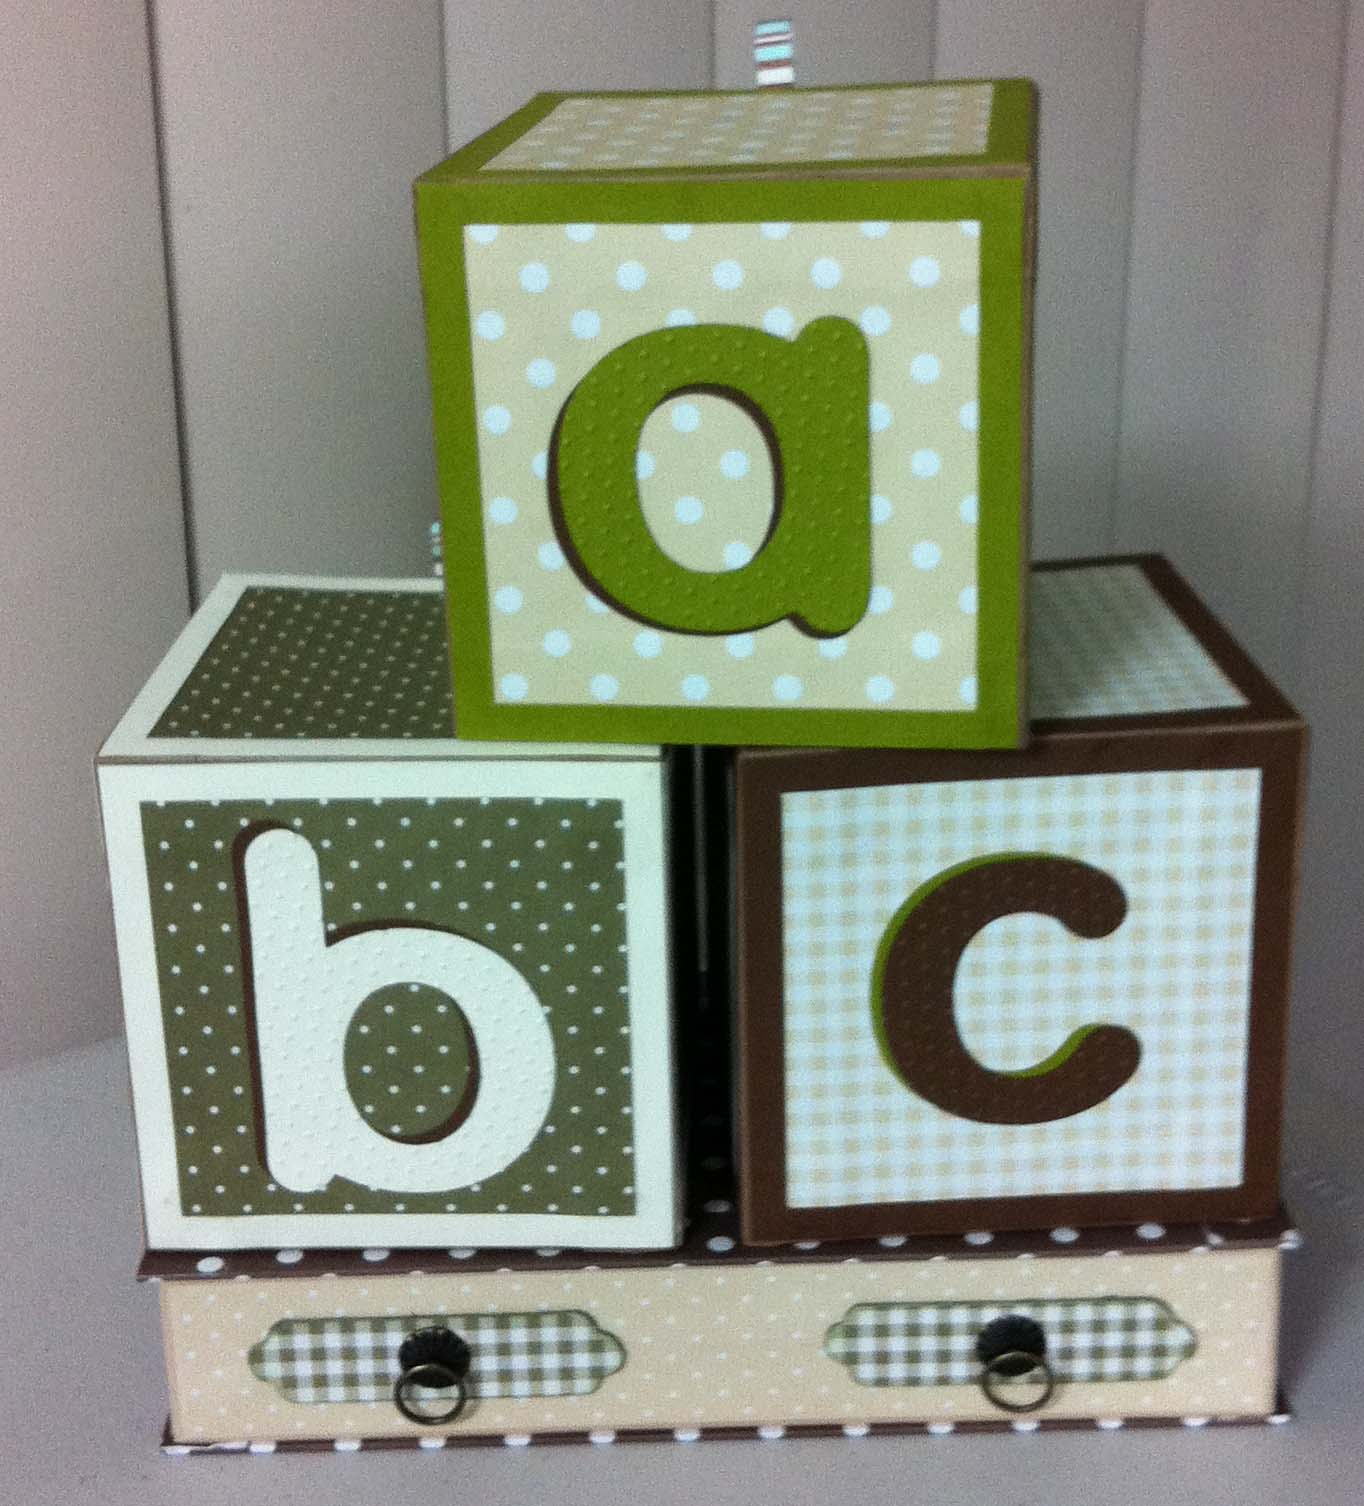
Baby Cubes - A Year in Review

Well Kathy said this project was labour intensive - and that's no bull! Oh my goodness! It goes on forever! However, the end result is well worth the time and effort I must say!

In each of the three cubes are four mini albums contained within mini hinged folders. There are only three pocket pages in each mini album, but there are tags and ribbon closures and...and...and LOL.

I made this project for my daughter Mandy's best friend who is due to have a baby in just over two months. Her mother told me that Renee's colours for the baby were green and brown, so I hope she likes it!

Here are a few pics of the project (not quite finished yet. I have to fill 8 more albums with tags and ribbon closures).

Check out Kathy's blog for the tutorial.