Tuesday, June 19, 2012

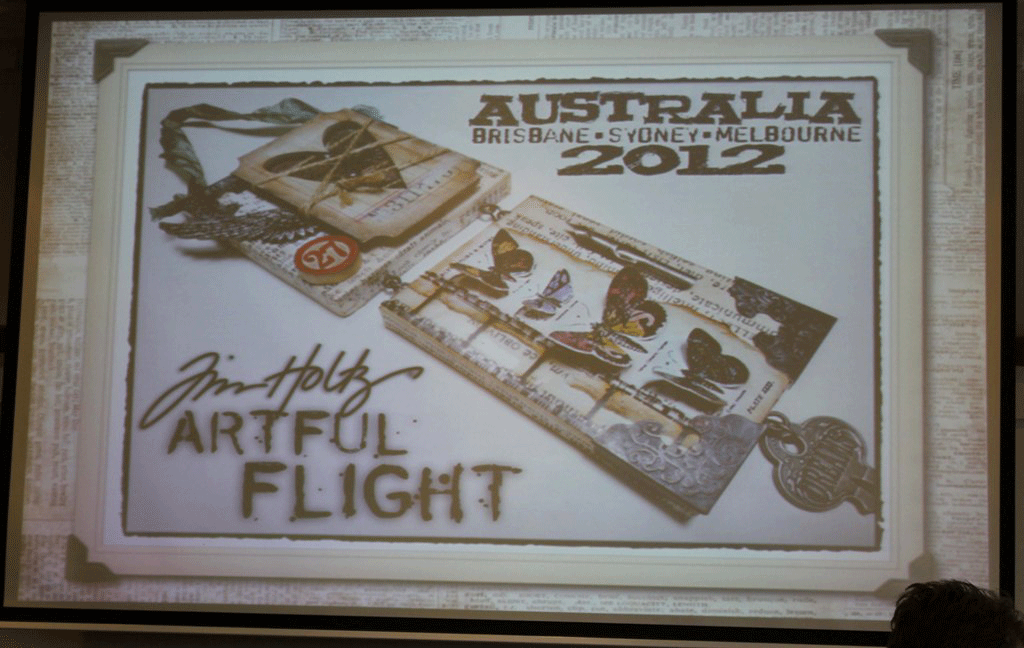
Tim Holtz "Artful Flight" Class - Sydney 2012

Well, Mandy & I have just experienced something that we never thought possible - we met Tim Holtz! We attended the Artful Flight class that was instructed by the man himself! A-M-A-Z-I-N-G!

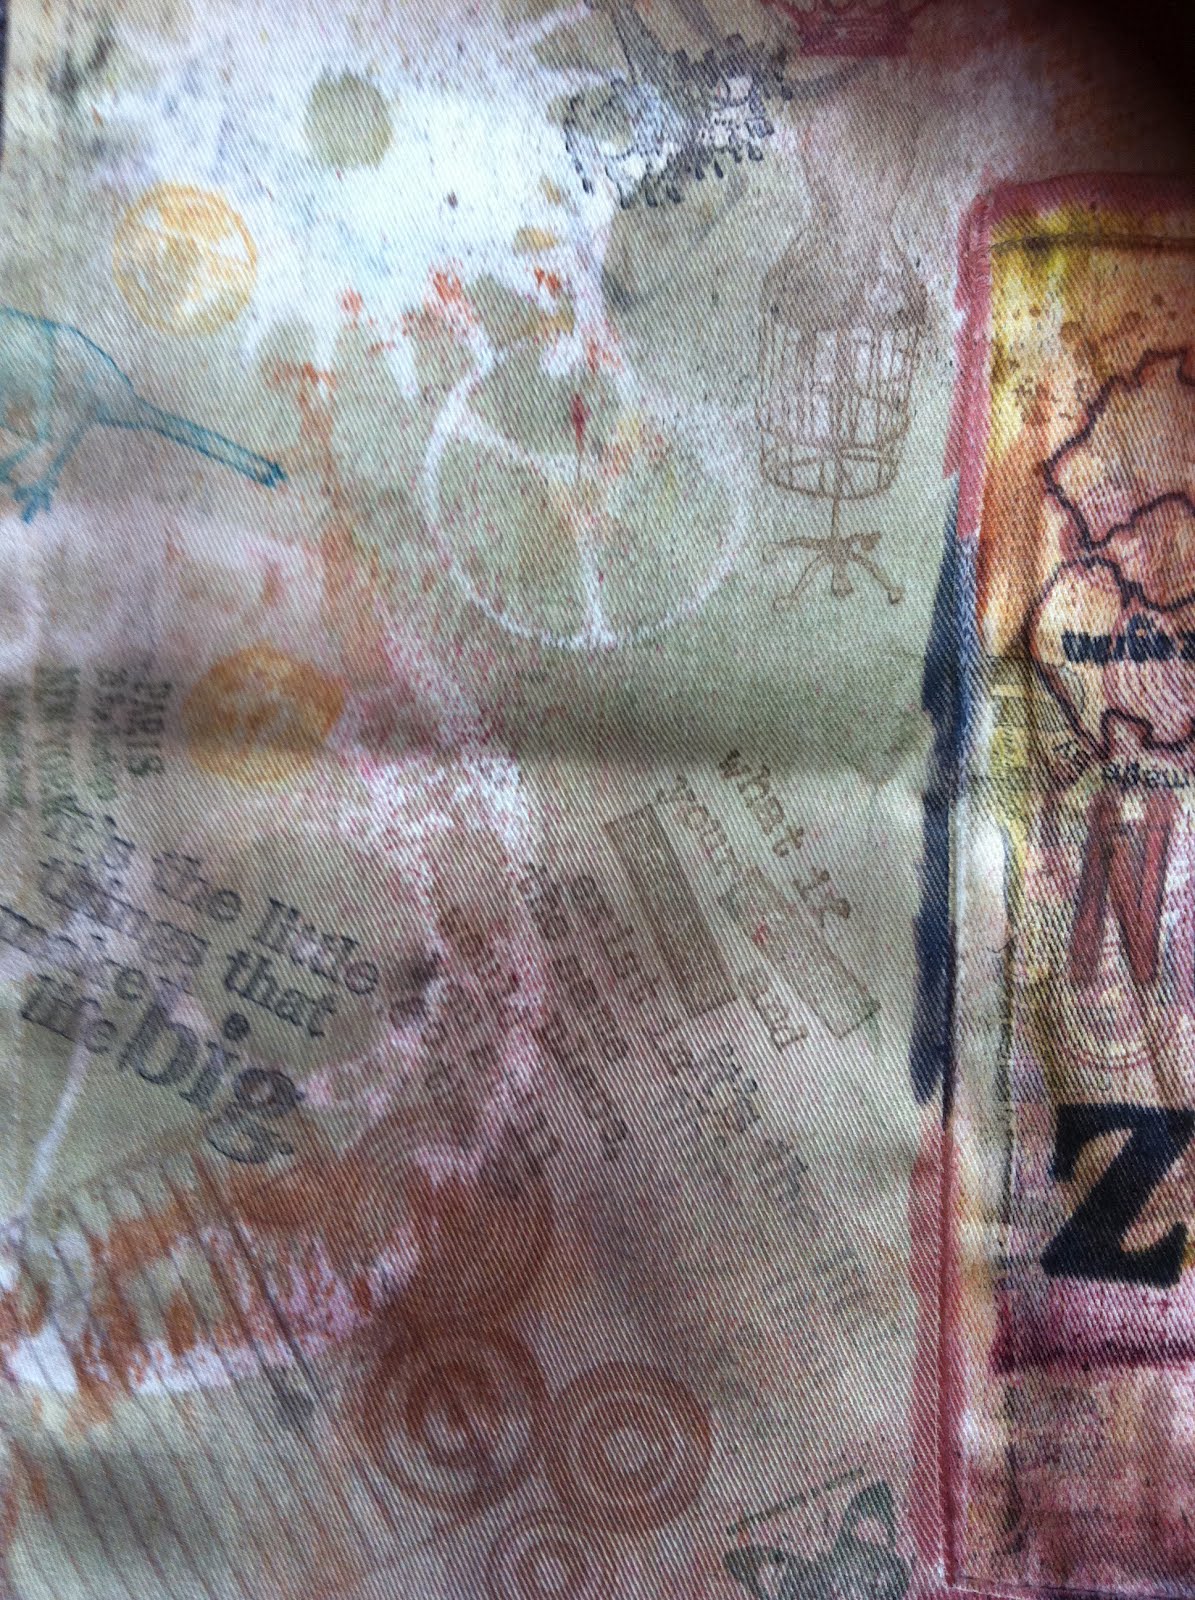
In the lead-up to the class Mandy & I decided to ink, spray, stamp & embellish the heck out of some white aprons which we wore on the day. Tim was so impressed by them both, so much so that he asked Mandy if they could take a photo to show Dyan Reavely as Mandy's apron was sprayed with her Dylusions! How A-M-A-Z-I-N-G was that!!! You can see both aprons in the pics below.

After a few days of rain and cold weather, the sun finally shone on our day!!! We set off early to ensure we knew where we were going so we didn't miss out!

Shasz (daughter number 2) drove, whilst Mandy & I took multiple pics on our phones of the scenery and the sign posts giving us the kilometres remaining to get to our destination. We posted these pics on Twitter where our online craft friends were sharing our adventure with us all the way! Yes, a few of them stayed up till the wee hours of the night to ensure they didn't miss out on any surprises we might have tweeted. They even made sure that all our tweets were saved and emailed to me so that I can use them to tell the story in a mini album! How cool is that!

Well, there was a surprise, I asked Tim if he could possibly say Hi to our twitter friends who were following our adventure and he didn't hesitate. He is A-M-A-Z-I-N-G! He is a genuine, down-to-earth guy. Our expectations were met and then some!

So here are a few pics of our A-M-A-Z-I-N-G day with the master himself!


Sunday, June 17, 2012

Meeting Tim Holtz - Sneak Peek

Hi! Just had to share a little pic of Mandy & me with the man of the hour, Tim Holtz.

More tomorrow - so tired!

Friday, June 15, 2012

Apron - Tim Holtz Grunge Style

I am sooooo excited! Mandy & I will be meeting the man himself - Tim Holtz, on Sunday 17 June 2012!!! He's in Sydney, Australia!!! Yay!!! We are taking a class with him and to celebrate, Mandy & I each coloured a white apron in our styles - Mandy's is all bright and mine is grunge!

Here's what I came up with:


Monday, May 28, 2012

12x12 Layouts - June 2012 DT Project

My June 2012 Design Team kit from Shop and Crop (my local scrapbook store) arrived last Friday and I liked the papers so much that I started the layouts on the Saturday!

Using KaiserCraft's Check In collection (papers, cardstock sicker borders, acetate shapes, flower petals and buttons only) I made two 12 x 12" layouts.

This was easier to create than I originally thought, with just limited supplies it didn't take long using all the different papers with tag, postcard and photo mat pages to create a jam-packed two layouts!

I used multiple layers of the papers making tag holders, photo mats and more! Some of which was a bit too confusing to try putting into an instruction sheet, so I filmed the entire process of the two layouts and have uploaded the 11 parts on my YouTube channel. You can view Part 1 here.

Layout 1


Layout 2


Saturday, May 26, 2012

Log Cabin Project


This project was something I started after watching Jean (MusicScrp) made a laptop computer style box in a recent secret box swap. I wanted to see if I could actually make it.
Well, I did, but I don't think I'd ever attempt it again! It was very time-consuming - all that cutting of the 3/4" strips, wetting them and rolling them into logs took forever! Not to mention the roof! The roof was made of silver corrugated cardstock which I alcohol inked to make it look rustic.
I did enjoy making the chimney, though. Using tissue paper I stamped the brick pattern using archival black ink, sprayed LSG sprays and Tattered Angels Glimmer Mists, ran it through the Xyron and covered the chipboard-made chimney. I think this section came out the best!Link
The floor of the verandah was made using 1/2" strips of chipboard cut to varying lengths then adhered to the base piece of chipboard, then painted. The same method was used for the side door (which is the cover of the spine on the mini album).
The front door was made from a solid piece of 6 x 3" chipboard which I scored vertically every half inch to make it look like it was made of timber strips, I then painted it and added paper hinges (cut from Cricut) and attached it using a paper hinge on the inside. The door pull was a brad I bought from an Etsy store - love them!
The entire piece measures (approx) 12" wide by 11" tall by 10" deep.
I did stream most of the project and you can see part 1 here.
A slideshow of some of the process is also on YouTube and you can see it here.