Saturday, May 5, 2012
Fabric Applique Mini Album
4x4 Mini Storage Unit
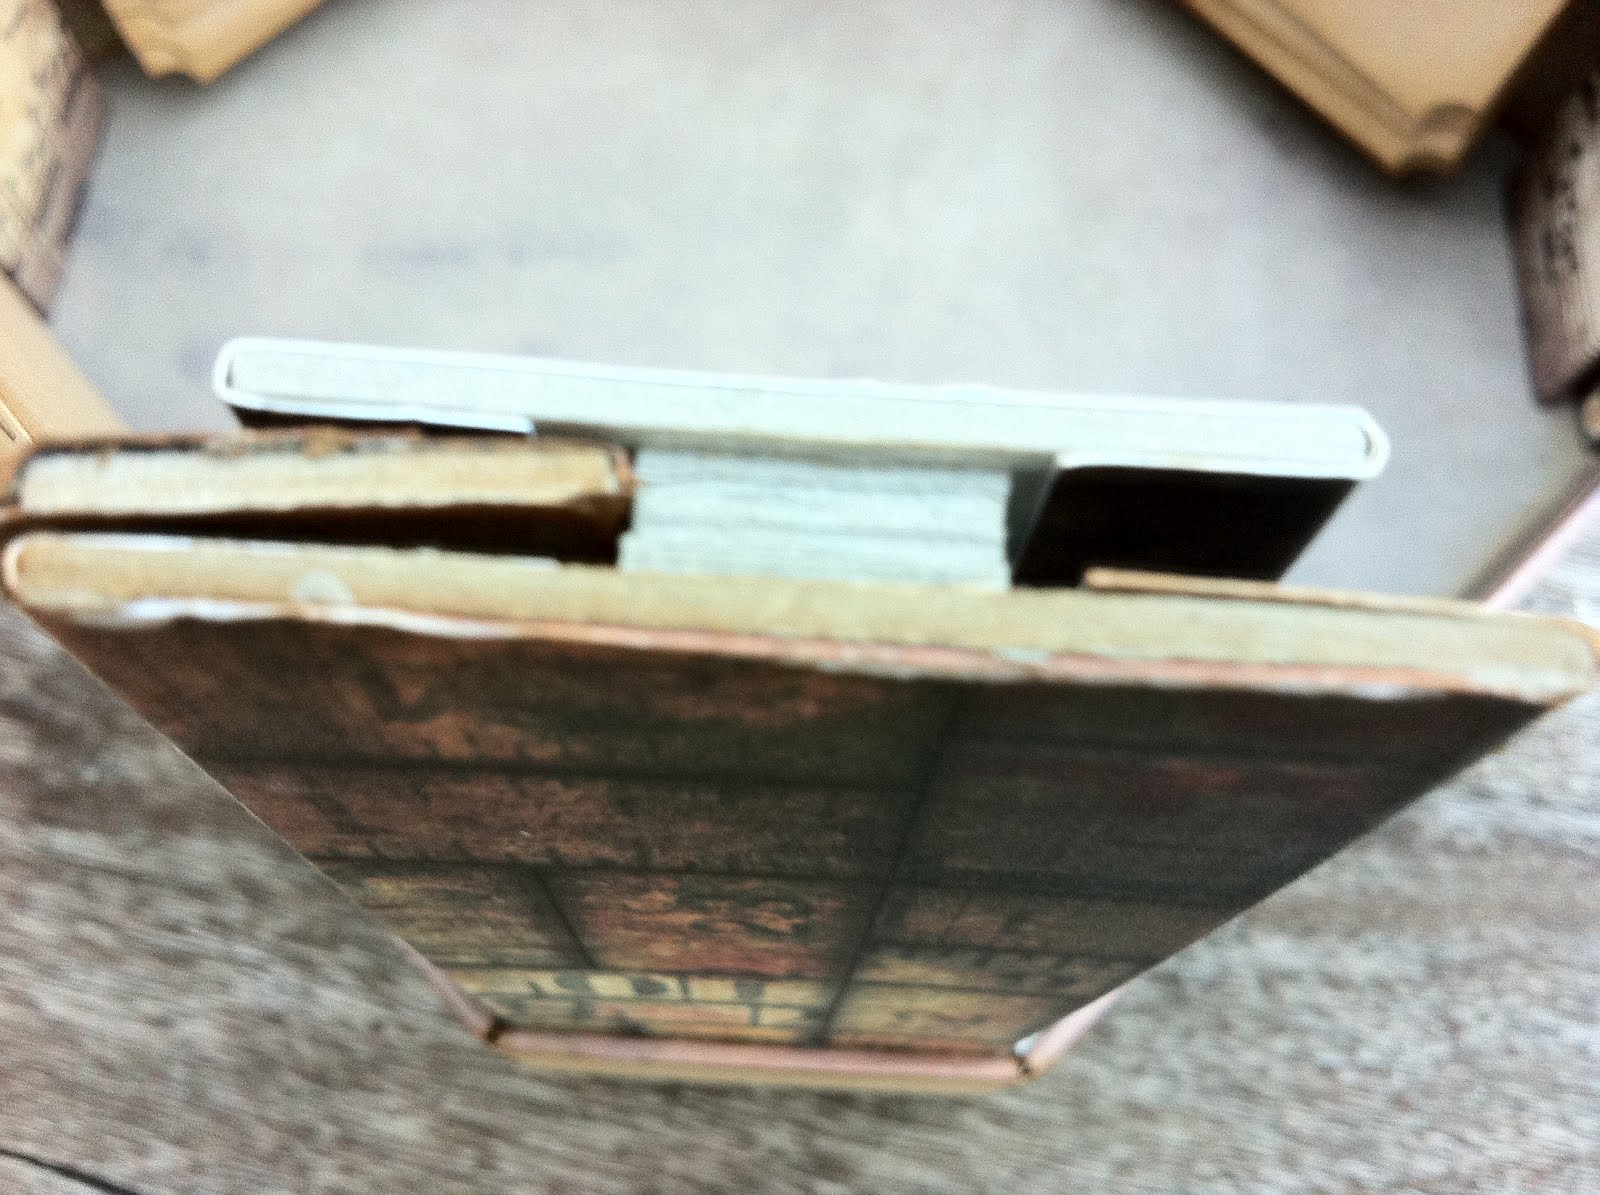
So for the 20 of us who participated in the 4x4 mini page swap last year, I've come up with a storage solution for the 4x4's and here it is!
For all those who would like to make it, here are the details:
- Front - chipboard cut at 2" x 4 1/2"
- Back - chipboard cut at 3" x 4 1/2"
- Base - chipboard cut at 6" x 4 1/2"
- Sides - chipboard cut using the Tim Holtz On the Edge "Brackets" die
you will need a piece of chipboard cut about 3 1/2" x 8 3/4" and cut
with the die and create your own shape (or use the template provided here) - Kraft cardstock for joining pieces together, all scored lengthwise in half
Front: 2 @ 2" x 1 7/8" (to join sides to front) & 1 @ 4 3/8" x 2" (to join front to base)
Back: 2 @ 2" x 2 7/8" (to join back to base) & 1 @ 4/3/8" x 2" (to join back to base)
Sides: 2 @ 5 7/8" x 2" (to join sides to base) - Designer paper for inside lining and outside covers
For the inside section (hidden hinge) you will need 3 pieces of 8 1/2" x 11" cardstock (I used Recollections Kraft Cardstock):
- Cut each piece of cardstock in half lengthwise to make 2 @ 4 1/4" x 11" per sheet (6 in total - you only need 5)
- Cut each piece down to 9 1/4"
- Score along the long edge at the following:
1/4", 1 1/4", 2 1/4", 2 1/2", 3 1/2", 4 1/2", 4 3/4", 5 3/4", 6 3/4", 7", 8", 9" - Burnish all scored edges and apply tape as shown on my Ustream (too hard to explain here) and join each scored section as shown on the ustream.
Once all pieces are joined, apply scor-tape to under side of hidden hinge piece, remove tape and adhere to top of base.
Punch a couple of holes in each side section about 1/3 from the top, add a handle using twine or yarn and voila! It's finished! All that's left to do is place your 4x4's in the storage unit.
Monday, April 23, 2012
SS Box Round 2 Slideshow
A couple of close-up shots of the box too:


Chest of Drawers
The pic below is of the finished chest of drawers, however I need to complete the mini album that sits in the top box section of the chest, along with making a few items to sit in the side shelves.
I'm thinking of using it as a storage chest for my stick pins, so am thinking of making a couple of stick pin cushions to showcase any I make, and the drawers used to hold the naked stick pins. Thinking about it anyway - not fully convinced yet LOL.
Anyway, there were too many photos to post here on my blog so I've uploaded a slideshow of the process to YouTube and you can view the slideshow video here.
Ustream Guide for New Users
I've currently been enjoying participating in and watching (LaurelfromNJ) Laurel's Swap Sister Box Round 2 streams on each Secret Sister (SS) opening their box of goodies.
My SS was MsDebren (Debra) and Deb has already received my box to her. I was so lucky in that Deb is my crafting soul sister - we both have very similar styles in our craft.
As soon as a box is received, the word gets spread via twitter and we all head over to the current SS's Ustream channel to watch her open it. So much fun!
Anyway, some of the girls have not streamed before, so need to set up their web cams and computers ready for the stream. This is hard when you haven't done it before but we all help to make it as easy as possible for each "new" streamer. Having said that -- this doesn't even go close to the nerves we all feel when we do our first stream, so it's a very daunting and emotional time for the SS.
So I decided to put together a 'New Ustream Broadcast User Guide' to help anyone who has never streamed before, to test it out. I hope this helps and doesn't confuse you even more so!
Please let me know if you need any more clarification or if you have any problems that may need to be added to the user guide. Please note that this is a rough first draft and I will be editing it to make it more user friendly at times, so please bear with me.
Ustream User Help Guide
Smiles
Jen
Monday, April 2, 2012
LSS Design Team 12 x 12 Layouts
My first task was to create two 12" x 12" layouts using the KaiserCraft Fine and Sunny paper collection. I was given five design papers from the collection, one blue and one yellow 12x12 cardstock, a pack of ribbons and a pack of die cuts - all from the Fine and Sunny Collection. The following layouts are what I came up with.
Layout 1 - Fun in the Sun
- Background paper "Cloudy"
- Various die cut shapes from the "Fine and Sunny" Collection
- Yellow strip along side behind blue water pics was the reverse side of the Avenue paper cut to 1 x 12" strip, then punched the edge using Fiskars border punch Scallop Sentiment
- Foundations blue cardstock for photo mats cut at 6 3/4" x 4 3/4"
- Foundations yellow cardstock for photo mats cut at 6 1/4" x 4 1/4"
- Rainbow paper for photo mat cut at 6 1/2" x 4 1/2"
- Reverse side of Avenue paper (yellow) cut at 6 1/2" x 4 1/2"
- The blue water strip along left side of page were two photos taken of the water in the pool, these were cut using Fiskars border punch Scallop Sentiment, then cut down to 2/3/4"
- Adhesives used - Acid Free ATG double sided tape, Scotch Quick Dry Adhesive, PaperCraft double sided adhesive foam dots
- Strip of flowers at bottom of layout was the reversed bottom of paper details on the "Cloudy" paper
The photo was adhered to yellow cardstock, then to patterned paper, then to scallop punched blue cardstock.
Yellow strip was adhered first, then blue water photos.
Flower strip was adhered to the bottom of the layout.
Alpha stickers were adhered to die cut shapes and adhered to layout.
Birdhouse and rainbow with clouds were both adhered flat using Scotch Quick Dry Adhesive.
All other die cuts were adhered using PaperCraft double sided adhesive foam dots.


Layout 2 - “Through the Eyes of a Child"
- Background paper "Chirp"
- Various die cut shapes from the Fine and Sunny Collection
- Foundations blue and yellow cardstock for photo mat (blue cut at 5 x 7", yellow cut at 4 1/2 x 3" and 4 1/2 x 2 3/4")
- Reverse side of Raindrops paper strip cut at 12 x 4 1/8"
- Sun strip below orange paper was reverse bottom of the detail strip on the Raindrops paper
- Flower ribbon cut at 14" strip placed below sun strip and wrapped around background paper
- Flower strip at bottom of page was from the Alpha Sticker sheet
The orange paper was adhered first, then the sun strip, then flower ribbon.
The photo was matted, then adhered over top of strips, then the flower stickers were adhered to the bottom of the page.
Journalling die cut was then adhered flat using ATG tape, then die cut flowers adhered using PaperCraft double sided adhesive foam dots.
Tree was adhered flat using Scotch Quick Dry Adhesive.
Houses and bird were adhered using PaperCraft double sided adhesive foam dots.
Alpha stickers were then adhered.
Finally, corner die cuts were placed at left and right top of photo.


Monday, March 5, 2012
Memories Boxes
I used Tim Holtz's Lost and Found paper pad in the 12x12 (yes, I had been treasuring these for ages but this was the perfect project for them). I also used lots of chipboard, scor-tape and Scotch Quick-Dry Adhesive to put it all together. I also used a lot of Recollections Kraft cardstock for the photo matts inside the box.
One thing I didn't like about these boxes was the fact that there was a lot of paper and chipboard waste, due to the sizes of each of the sections. For example, using the Kraft cardstock for the photo matts I could only get 2 pieces from an 8 1/2 x 11" piece of cardstock due to the size of the matt (4 3/4 x 4 1/2"). I'm seriously thinking of resizing the pattern to ensure less waste.
Another problem I came up with was the lid. It seemed too tight to cover the box and was tearing away at the paper when removed. Not a huge problem when using a grunge style, but wouldn't work very well with any other style. So I made each new box slightly larger - the first one I made the top and bottom sections 8 1/4" x 8 1/4" - this was too large so added some foam pieces inside the lid of the box to compensate for this. The last lid I cut at 8 1/8" x 8 1/8" and found this to be the perfect size lid.
Anyway, I enjoyed making them and will probably make more!
You can find Laura's pattern here and you can watch Laura's Ustream on the making of this Memories Box here.
My Ustream on making the box is here.