Saturday, June 15, 2013

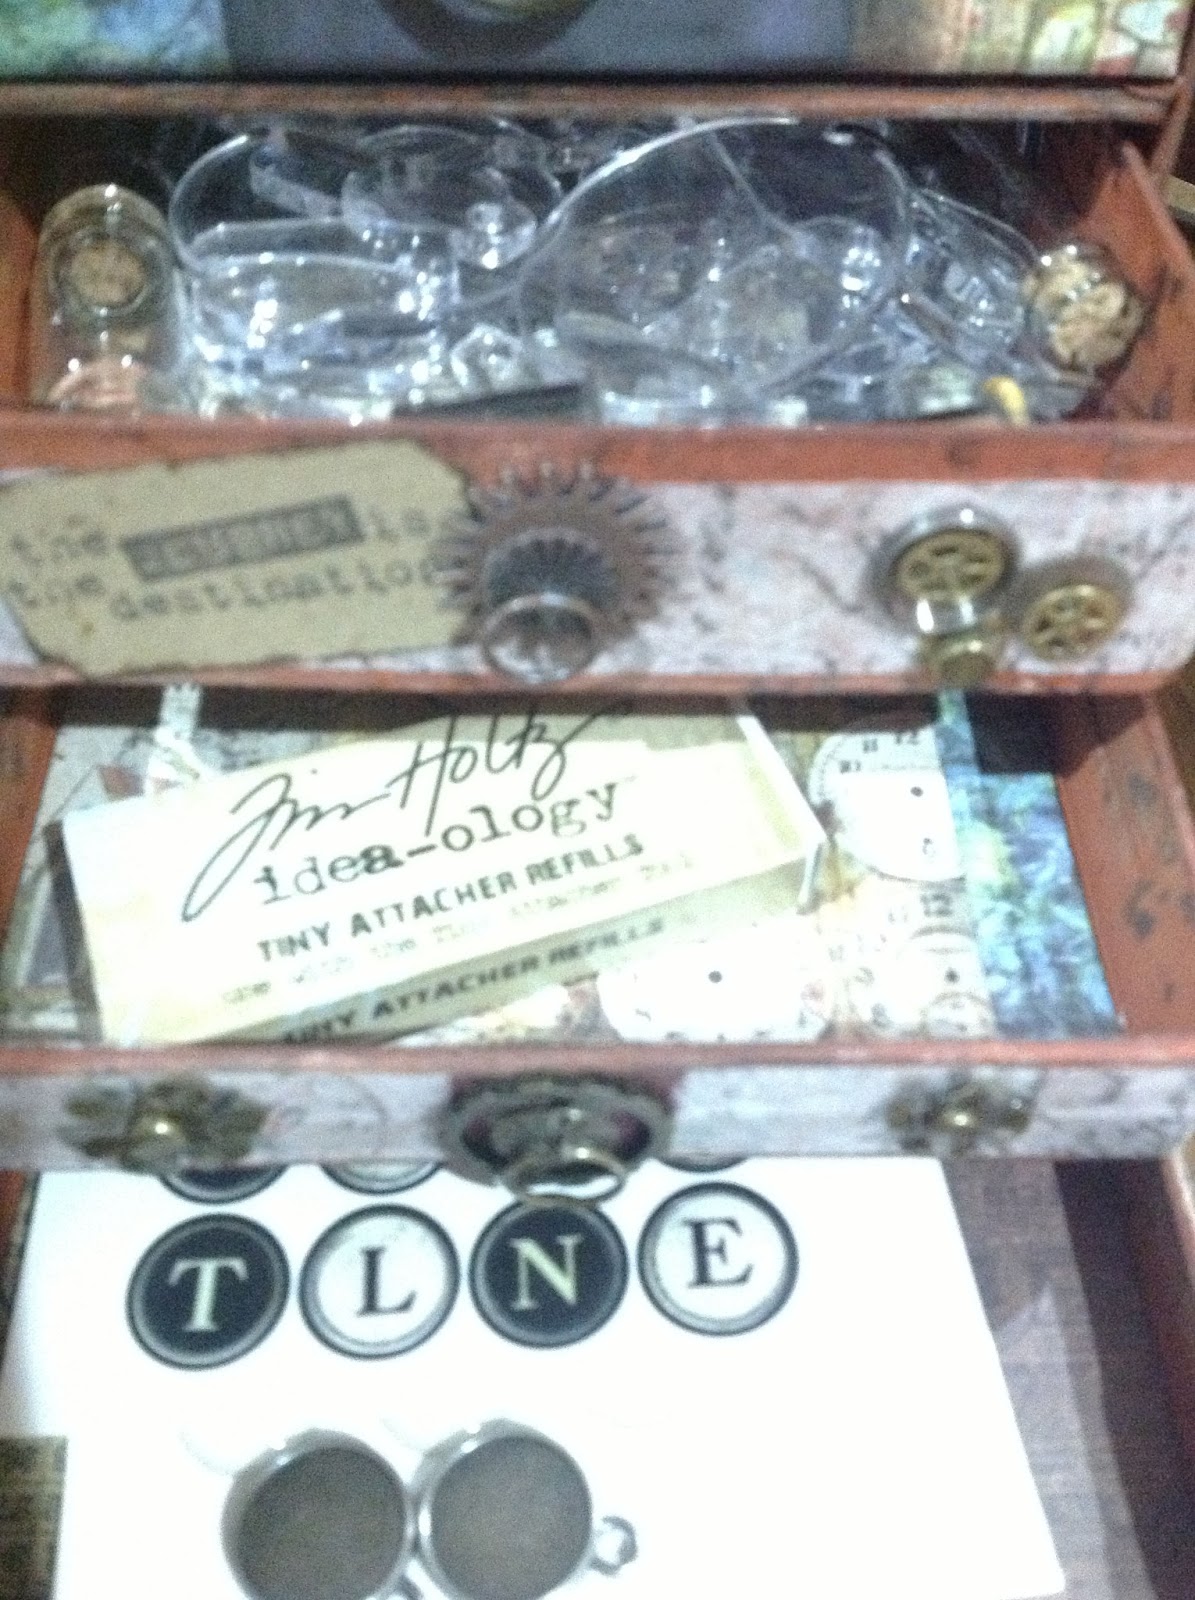
Tim Holtz Storage Unit (inspired by Harry Potter Wizard's Collection)

Hi everyone! It's been soooooo long since I've put a project up on my blog - so sorry! It's just that I haven't been doing much but doing DT card projects and simply just messing around in my craft room not accomplishing anything much.

That is until I was challenged by Felicia and Eileen to make the Harry Potter Wizard's Collection box! I procrastinated on that one - liked the concept, started making the drawers for the bottom, then how I was going to make the drawer surrounds, got confused and put it aside for a while. I've only just come back and forged ahead!

Below are some pics of the project during the stages of being built. I also have a series on YouTube on the making of the storage unit, enjoy! Oh, and if you want to sit through a series on the making of this project, here's the link.

The Original Harry Potter Wizard's Collection Box


Wednesday, May 29, 2013

I remember the good ole days

Hi everyone!

This post is in response to Gina's (Scrappinology) YouTube video posted today. I had way too much to say about this in the comments section, so I thought the best way to say it was to create a blog post and link it from the comments section under Gina's video.

Firstly, thanks to Gina for making me go back and re-live the good old days :)

So here goes...


I just want to add my two cents worth here. Let's break it down people. Remember 'the good old days' when people actually shared their knowledge and their love of crafts - before all the 'show & tell' videos started appearing. We'd participate in swaps so that we could have a piece of someone's art to admire and examine the techniques used so we could attempt to create something so very different to our own style. This is how our styles grew.


So how did these people get such a huge following? By people subscribing! Doing giveaways on behalf of their SUPPLIERS. So as a human being it is part of our nature to imitate others. So we then think that if we get a lot of subscribers maybe we could be selected to be on a design team? So we then do a giveaway to get MORE subscribers? Why not go and buy some things to giveaway (I won't eat this week), then I'll get more subscribers, and so on and so on.

I gave up on watching HAUL videos because I got so jealous of what a lot of crafters were able to get their hands on so readily and cheaply. Some haul videos are letting us know what company has a sale on, deals, bargains, etc, but as I do not live anywhere near these stores I just cannot bear to watch them LOL.

Don't get me wrong, there are a lot of deserving crafters on design teams and businesses market their products any way they can to keep their business running. I'm just saying that it's easy to get caught up in all this.

I personally have almost 400 videos here on YouTube. The only reason I started making YT videos was because I was a member of Marion Smith's Girls Gone Scrappy group of which Kathryn (the scrapbeach) was a member. Kathryn then started her Scrapbeach Ning site so that we could have a place to chat (Gina, you also were here at the beginning), upload pictures of our projects from swaps organised through the Ning site.

I gained enough courage to do non-talkie vids which developed into 'talkie' vids LOL. I have always tried to SHARE ideas, I never sell anything. I have done giveaways at certain 'milestones' and currently have a giveaway vid on YT. I have always said that I would never stop showing 'how to' videos, start to finish projects, etc. because when I first 'found' YouTube and all the great crafting tutorials, it was those tutorial videos that helped me create projects I never thought possible.

So to all the 'newbies' out there, there are still some of us oldies left who actually want to SHARE their love of crafts to this amazing online crafting community. Yes we 'copy' but I would like to think most of us acknowledge the person from who we learned the project or technique.

Now getting back to the point in question - giveaways, we are all individually responsible for clicking SUBSCRIBE buttons, we are all INDIVIDUALLY responsible for sending RAKs, we are all INDIVIDUALLY responsible for participating in challenges. It's our own decision. Some people just let 'popularity' go to their heads and they end up doing things they don't even understand to be 'wrong'. This online crafting community is a way to SHARE our love of crafting, heck I even craft in Google Hangouts (not so much lately) with others chatting away as if we're all on a crop together! 

On a negative side, we've had a few instances where people have come on with sob stories and lied their way into receiving 'RAKs', at the moment we've got others talking about libel and copyright infringements!!! Get real people - it's not about who does what the best - it's about SHARING this love of our craft that keeps us here!


But YES YES YES Gina, I long for the good old days, but I'm glad most of us have grown during the years :)  

Smiles
Jen

Monday, March 4, 2013

ATC Storage Box

Well, Jim (the gentleman crafter) has enabled me again! Yes, that's right - to make another box LOL.

I don't know what it is about box making but it's an addiction that's taken hold. I try to make the boxes to actually use for some sort of storage in my craft room, and this one is no exception. Although the reason behind this one was to participate in Tim Holtz's Tattered Florals challenge - why did I not use the die? Because my dear daughter, Mandy had it!!!

I don't have many ATC's because I haven't been in many swaps, so the size of this ATC storage box is ideal for my ATC collection :P

I've uploaded 4 parts to YouTube on making the box and the tab dividers to separate each ATC swap I've been in.

Here are a few pics of the completed ATC Storage Box:


Friday, February 22, 2013

Card Series - Birthday Card #2

I recently watched Jann Gray's YouTube video on the White-On-White technique and wanted to have a go at it myself and this is what I came up with.

card front
I used a 5 1/2 x 4 1/4" white card base, cut a piece of white cardstock to 4 1/8" x 5 3/8", ran it through the Flourished Frame Cuttlebug embossing folder.

I then stamped a newsprint on white cardstock, coloured the entire area with some distress stains and die cut the leaves & branches using Tim Holtz's Autumn Gatherings Alterations die.

The sentiment on the front was stamped with Versafine Onyx Black ink and die cut with a Spellbinders Labels Eight die.

The leaves and branches were adhered with Scotch Quick Dry Adhesive, the sentiment piece was adhered using pop dots.

The butterflies were punched from a piece of white cardstock which I ran through the Swiss Dots Cuttlebug embossing folder using the Martha Stewart butterfly punch & adhered using Scotch Quick Dry Adhesive.


The inside of the card was stamped with Versafine Onyx Black ink, then I adhered two leaves between the sentiments.


The envelope was made from an 81/2" x 8 1/2" piece of white paper, stamped & sprayed in shades of green & yellow.

envelope


Supply List

  • White Cardstock
  • Hero Arts Wish Big clear stamp set (front sentiment)
  • Amy R Birthday Sentiments rubber cling mount (inside sentiments)
  • Stampers Anonymous newsprint wood-mounted stamp (Item # U2-943)
  • Tim Holtz Autumn Gatherings Alterations die
  • Spellbinders Labels Eight die
  • Cuttlebug embossing folder Flourished Frame
  • Cuttlebug embossing folder Swiss Dots
  • Martha Stewart scoreboard & envelope maker
  • Martha Stewart butterfly punch
  • Tim Holtz Falling Leaves stamp set
  • Tim Holtz Distress Inks in forest moss, bundled sage, scattered straw & antiqued bronze
  •  Versafine Onyx Black ink
  • Ranger Archival Jet Black ink
  • Home made glimmer mist (green), scor-tape & ATG tape, Scotch Quick Dry adhesive

Saturday, February 16, 2013

Mini Album Binding-Pros & Cons

I recently watched Laura Denison's "Perfect Hinge Binding" stream over on Ustream (click here for link to Laura's stream of new binding" and at first I thought it sounded like a great binding system but when I went to try it I knew right away that it wasn't for me.

I made the Perfect Hinge Binding but was unsure of the strength of the "flaps/pages". I was also terrible at trying to line up each section on the spine straight - all over the place LOL.

The Perfect Hinge Binding was Laura's way of creating a binding system which would allow for either an odd or an even amount of pages in your mini albums. Also, Laura created the hinges as part of her pages. The way this binding system was created, allowed you to have more styles of pages in your album, as opposed to pocket/envelope style throughout. Great thought process, Laura!

Anyway, you know me and my fight with binding systems and the need for perfection all the time. I just had to play around with this Perfect Hinge Binding system a bit to see if it could work for me. I'm still playing around with it (in my head at the moment) but I did come up with a couple of variations on the Stack The Deck to allow for both an odd amount of pages as well as an even amount.

I have uploaded two variations onto my YouTube channel and you can click the links from here:

Stack the Deck + One
Perfect Hinge Binding - Doubled

I have also written a couple of tutorials on how I created the above two adaptations and you can get them here:

Stack the Deck + One
Perfect Hinge Binding - Doubled

Now Kathy Orta on the other hand adapted the "Hidden Hinge" binding system for her mini albums and I also had problems with this binding system (shock, horror!). Kathy listened and devised a way around the problems I was having by making a cut-off cover where you could attach a front & back cover thereby hiding the ridges that appeared in all my Hidden Hinge bindings. This adaptation of Kathy's Hidden Hinge is shown in Kathy's "Sophistication" mini album tutorial and is available on Kathy's web site here.

This Sophistication style mini album is OK for some albums, but I don't want them ALL that way so I'll alternate between my adapted version of Kathy's Hidden Hinge (the Stacked Hinge) and the Sophistication style Hidden Hinge.

Well, I'm guessing you're still as confused as me when it comes to the "Perfect" binding system and I'm sure we'll continue to strive for the "Perfect" binding system for our mini albums. Or are you happy with the binding system you currently use?

Monday, February 11, 2013

Sophistication Baby Mini Album Using G45 Little Darlings

Has it really been a month since my last post? That's almost as long as I've been sick :(

I made this mini album while being sick as it was for my niece's baby shower gift and needed to be started and finished!

I'm not that happy with it - only because it's so "clean" looking. I had one 12x12 and one 8x8 pad of the Graphic 45's "Little Diary" paper line. Also because the baby is supposed to be a boy, I could only use the "boy" papers in each. There are not a lot of pages in these pads so I was very restricted, and I had no other paper line that would have matched the "Little Diary" either. So, had to beg, scrape and do what I could to fill it.

I am currently making a slideshow of this album and posting it on my YouTube channel soon.

I used Kathy Orta's (PaperPhenomenon) "Sophistication" album instructions for this album - I do not think it should be called a mini album it's so big. Anyway, here it is:

Front of album with closure

Close-up of front - the papers say it all!

Used flat backed beads & lace on album cover

Perfect sentiment for this album

Some charms I had in my stash added to silver chain

Lace, TH ideology clock, velum tag & baby tag from paper line

Spine is wrapped with white ribbon between each page section

Ribbons attached by tying

Simple tag inserts

Plenty of space for photos

Only addition to cream page is strip of paper on left

Pocket page on left & plain page on right, then tag pockets

Used some journal tags from stash